

Stretch the envelope, measure its lift, then seal it and attach the payload. This is the preparation method used for the Stratolink film envelope.
Before you start
Allow at least a day for stretching and leak checks. Fill with helium between 24 hours and one hour before launch, then seal the envelope immediately.
- Flight balloon and a reversible battery air pump
- Rubber bands or kitchen twine, latex tubing and scissors
- Helium, a scale readable to 0.1 g, and the complete payload
- 30 inches (76 cm) of elastic cord
- Hair straightener and Kapton tape
This method transfers helium from three large party balloons. The amount available depends on their volume and gas purity. Measure lift as you fill; the number of donor balloons is not a fill specification.
This preparation uses a 6 g free-lift target. The calculator opens with a separate 7 g example. Use the target chosen for your measured flight assembly.
Stretch and check for leaks
- Unfold the envelope on a clean surface with nothing sharp underneath it.
- Insert the pump outlet into the nozzle. Secure the nozzle around it with a rubber band or twine.
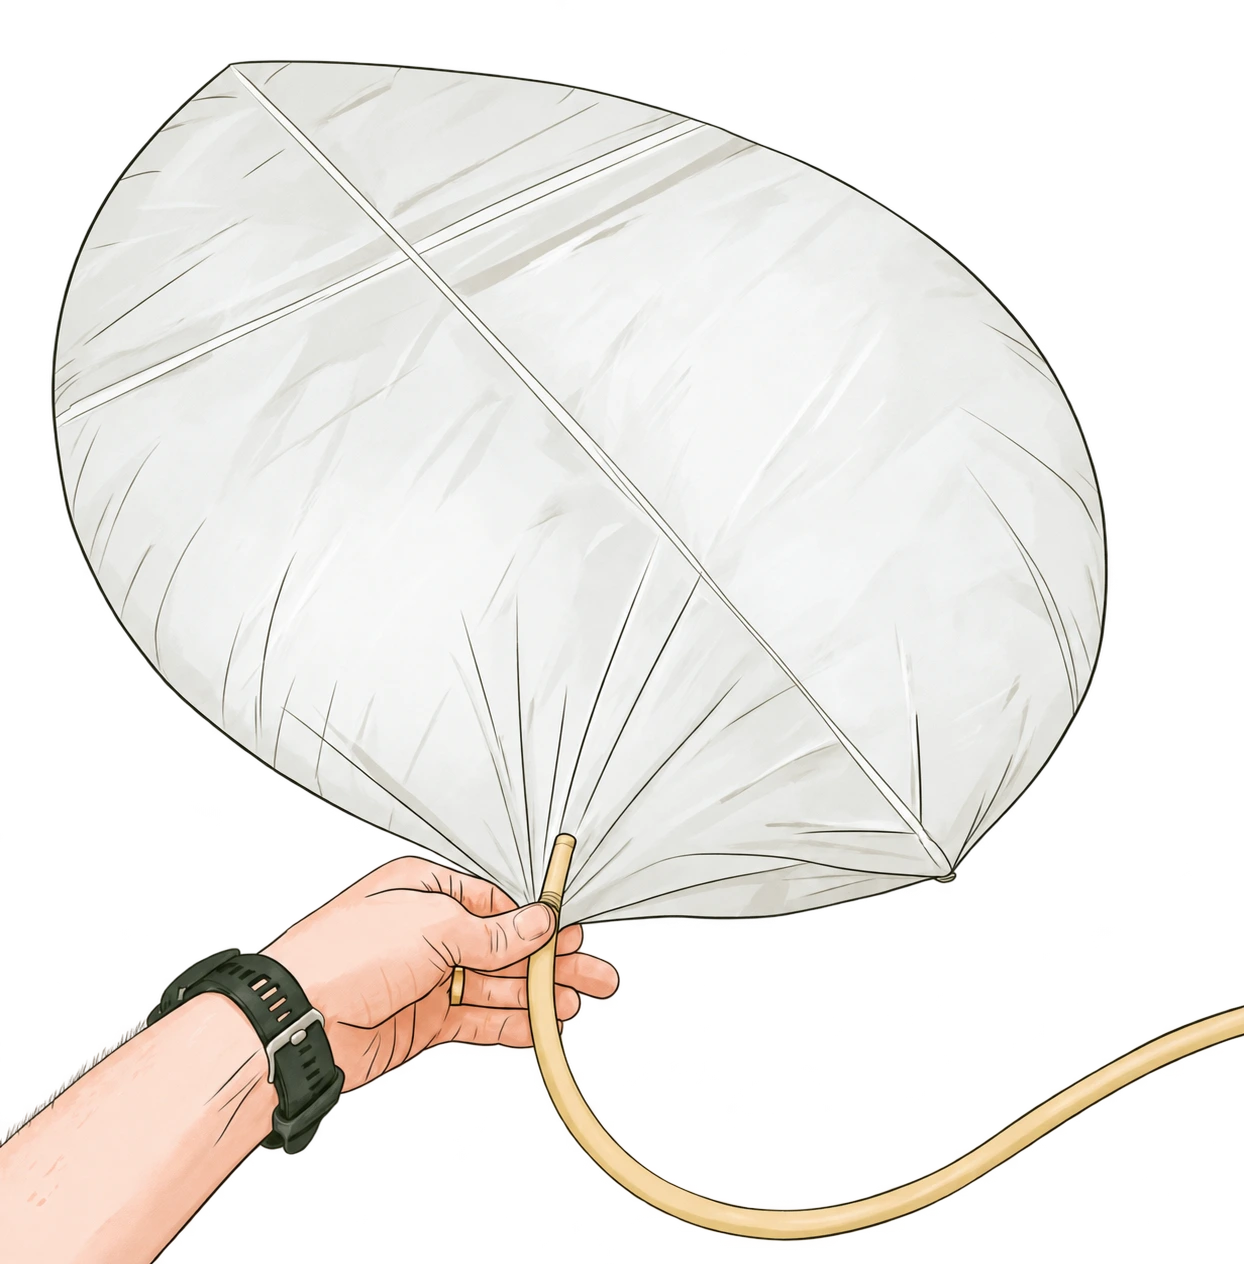
Secure the nozzle around the pump connection. - Inflate slowly. Separate any panels that remain stuck together by hand.
- Watch the wrinkles running across the seams. Continue only until these mostly disappear. Do not keep inflating a taut envelope.
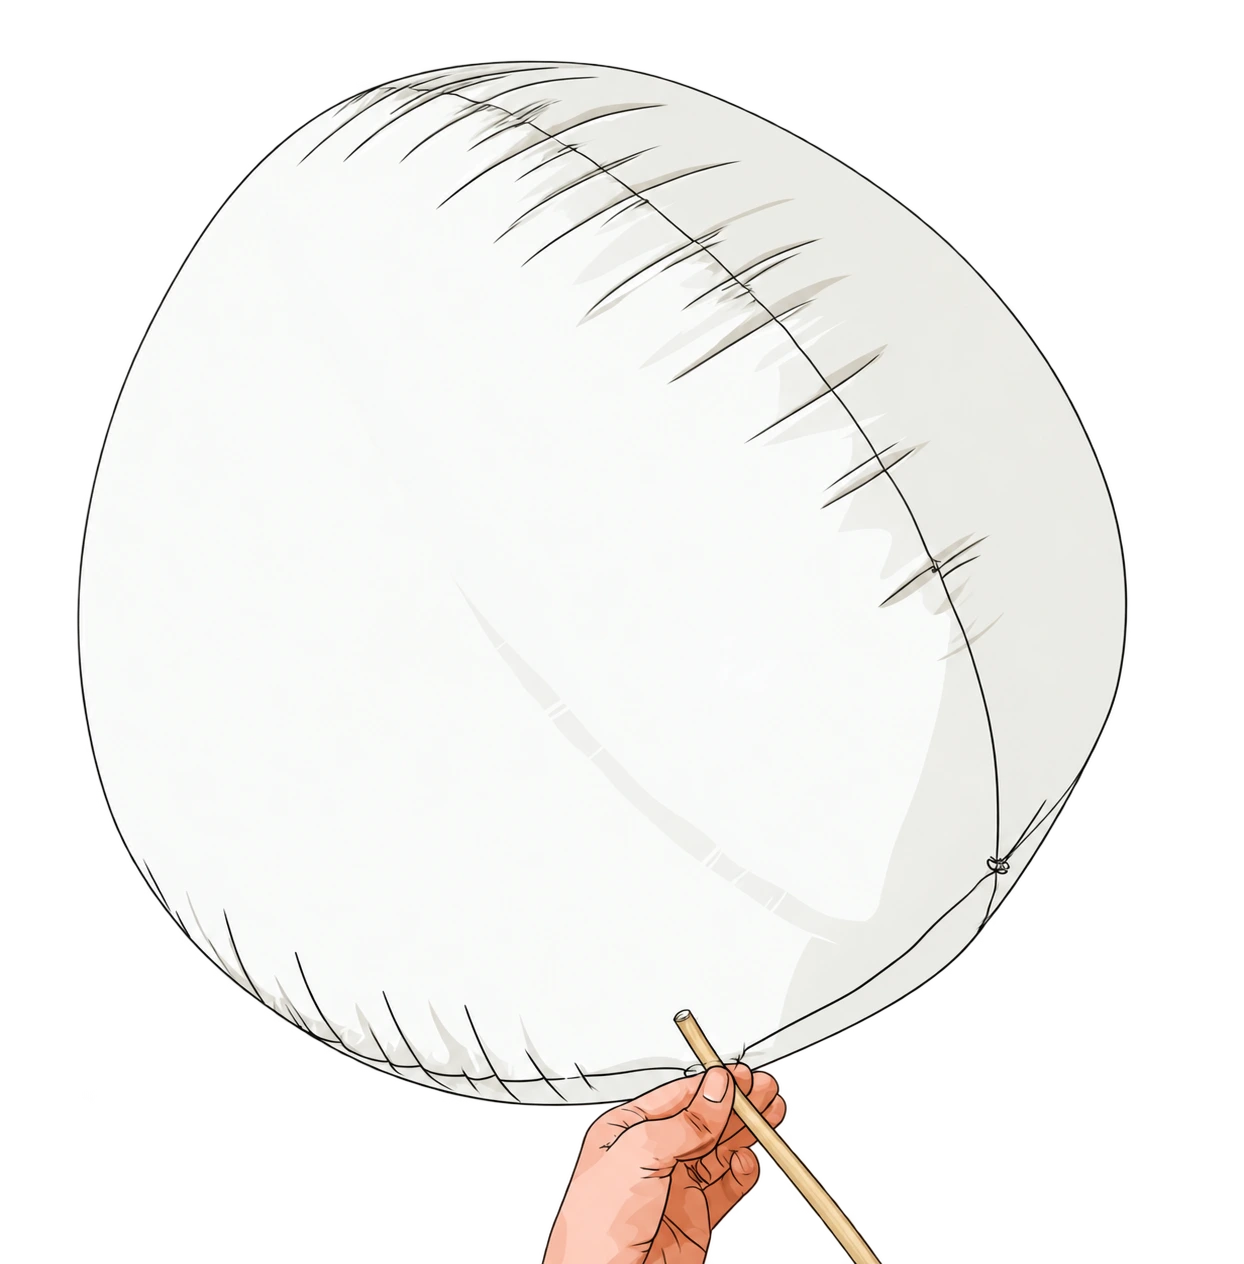
Before stretching: wrinkles remain across the seams. 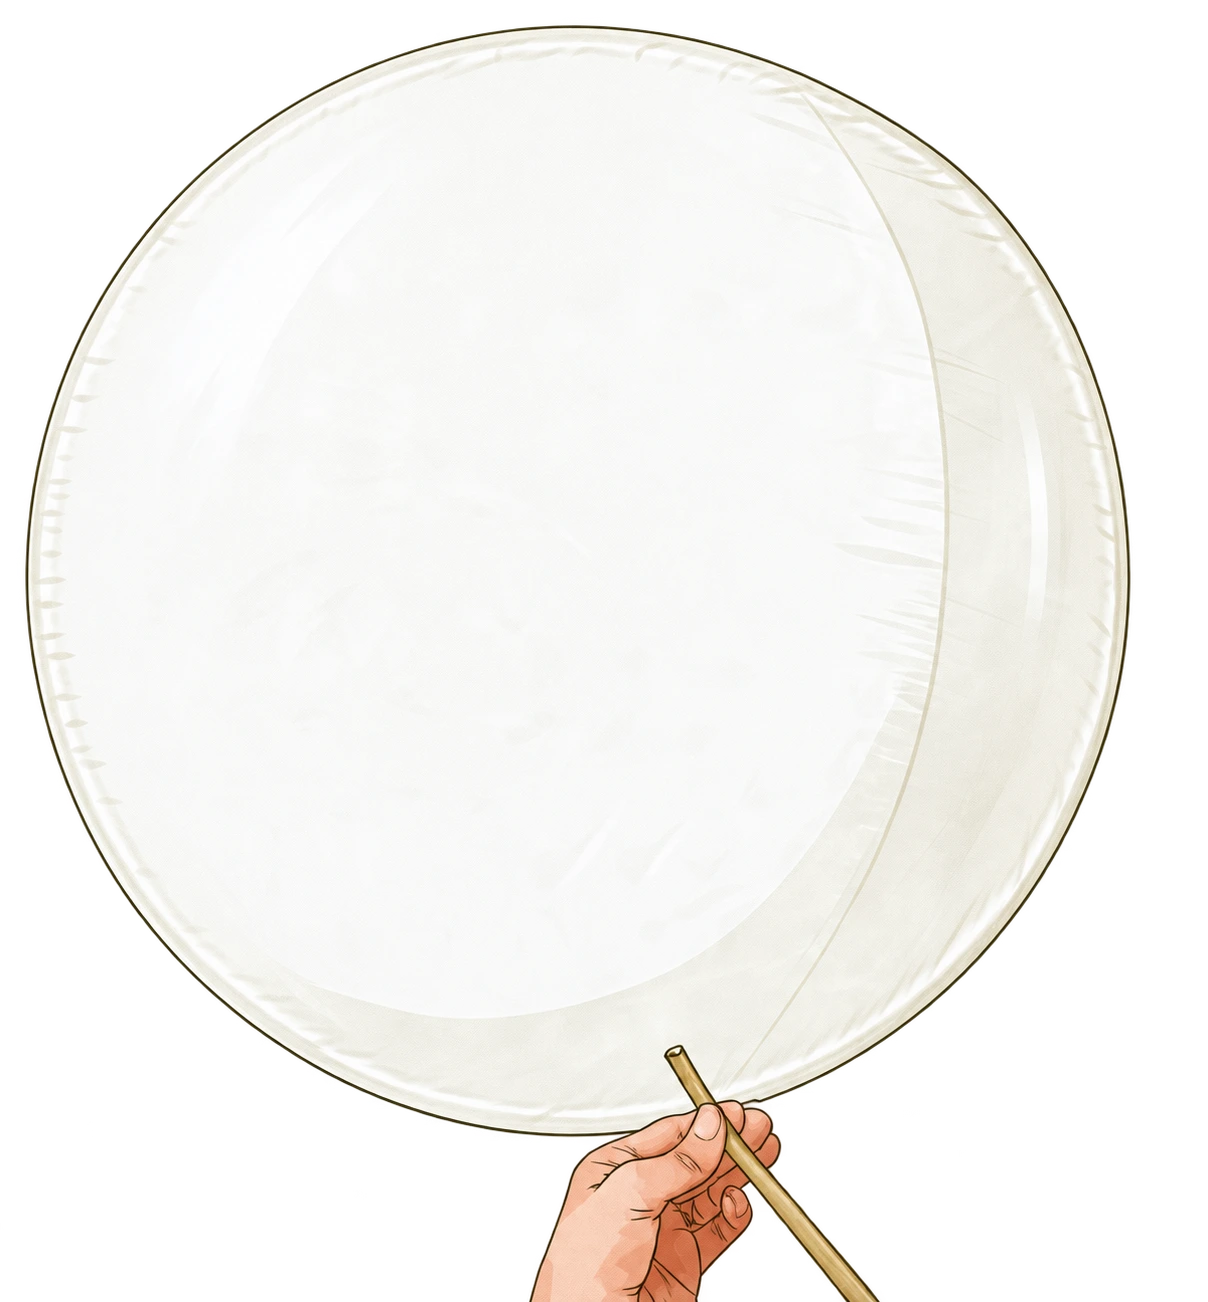
After stretching: the wrinkles have mostly disappeared. - Remove the pump, close the nozzle and leave the balloon for up to 24 hours. Check that it holds air before continuing.
- Reconnect the pump in reverse to deflate. Stop when the film pinches around the inlet, then remove the pump.
Why pre-inflate?
It separates stuck film, gives you time to find leaks, and lets the envelope expand before you add helium. A larger usable volume can support the same mass at a lower air density. This method does not measure a burst-pressure rating.
Float calculator
Calculate the helium fill volume and expected float altitude for your balloon. Weigh the complete assembly. Diameter means the expanded envelope diameter, not the width of the flat film. Purity is a volume percentage, with the remainder treated as air.
Fill at sea level and 15 °C. Standard atmosphere at float. This is an estimate, not a flight forecast or an envelope strength test.
More results
- Dry mass
- Gas mass
- Usable volume
- Lift per litre
- Envelope becomes taut
- Gas cooling to zero superpressure
Purity sensitivity
The mass, envelope and free-lift settings stay fixed. Less pure gas requires a larger fill and carries more gas mass aloft.
Compare exact values
| Purity | Fill (L) | Float (km) | ΔP (Pa) | vs pure (m) |
|---|
How the calculation works
Gas mixture and fill volume
The model treats the gas as an ideal mixture of helium (or hydrogen) and air. The purity fraction is φ. M is molar mass; ρ is density.
Use kilograms and cubic metres in these equations. Numerically, kg/m³ is also g/L. The gas carried aloft has mass ρmixVfill.
Float altitude and pressure
At float, the mass of displaced air equals the dry assembly plus its gas. The envelope has reached its usable volume, Vmax.
The calculator inverts the standard-atmosphere density equations through four layers, from sea level to 47 km geopotential altitude. Geometric altitude is z = rH / (r − H), with r = 6,356,766 m.
The gas and surrounding air are assumed to have the same temperature. Heating, cooling and gas loss can change the real result.
Initial ascent rate
The model balances the free-lift force against drag. It uses the area of a sphere containing the fill volume, air density 1.225 kg/m³ and a drag coefficient of 0.47.
A real partly filled envelope is not a sphere. Treat this as an approximate initial rate, not a prediction of ascent at every altitude.
Model limits
The example uses 10.3 g payload and suspension, 47 g envelope, 36-inch diameter, 98% volume utilization, 80% helium and 7 g free lift. They are an example, not a measured specification for every Stratolink balloon.
- Fill conditions are fixed at sea level and 15 °C. The model does not compensate for the weather at your launch site.
- Gas purity assumes the contaminant is air. Use the supplier's specification; a party-balloon label does not establish purity.
- Volume is fixed at float. The model does not simulate film stretch, leaks, seam strength, solar heating or the day/night cycle.
- The cooling result is the temperature difference at which superpressure would vanish at the calculated altitude. It is not a night-survival prediction.
A pressure estimate does not establish the strength of an untested envelope. The calculator rejects fills larger than the usable envelope and densities outside the atmosphere model.
For launch preparation, measure free lift directly using the test-weight method.
Measure the lift
- Weigh the complete payload, cord and any tape or fittings that will fly. Record their mass to 0.1 g. Keep the empty envelope mass separate.
- Cut a piece of latex tubing that weighs the payload and suspension mass plus the 6 g free-lift target. Start too long and trim a little at a time.
- Secure one end of the tube inside the balloon nozzle. Gently press out the remaining air without creasing or damaging the film.
- If using donor balloons, cut a small hole in one donor's nozzle and keep that nozzle below its body. Insert the free end of the tube and hold the connection closed.
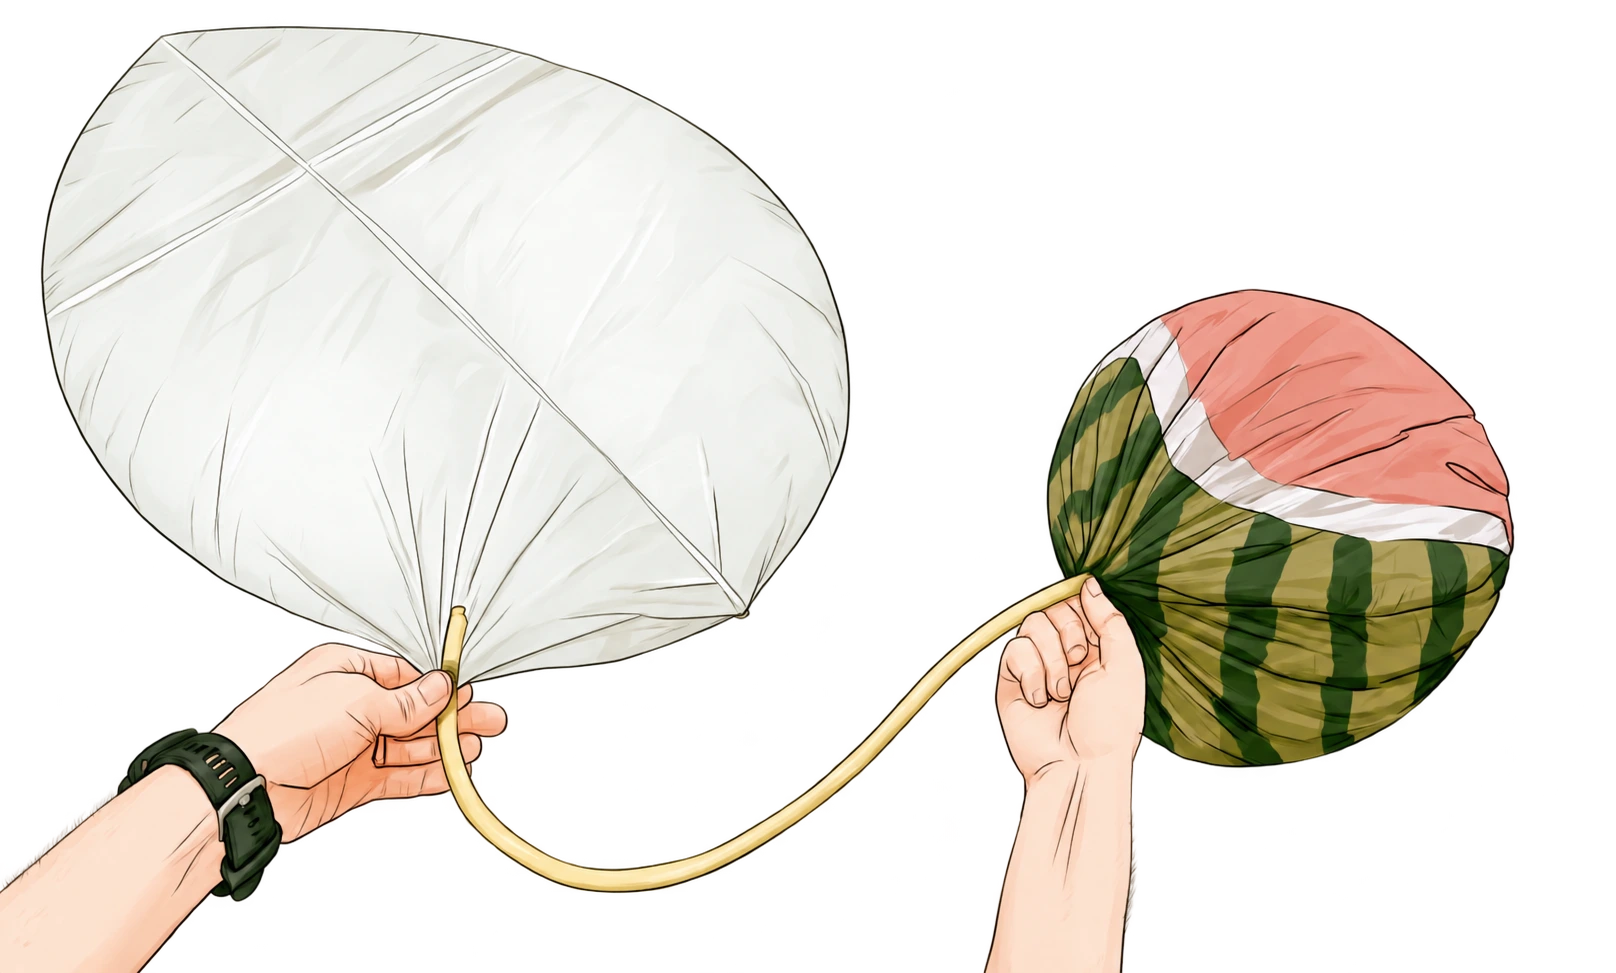
Transfer helium through the tube, then disconnect the donor to check lift. - Squeeze the donor balloon to transfer helium. Repeat as needed, checking lift between transfers.
- With the tube hanging freely from the Stratolink balloon, check whether it rises, sinks or hovers. Keep it indoors, away from drafts, with someone holding a loose safety tether.
- If it rises, release a little gas through the tube. If it sinks, add a little more. Aim for near-neutral buoyancy with the test tube attached.
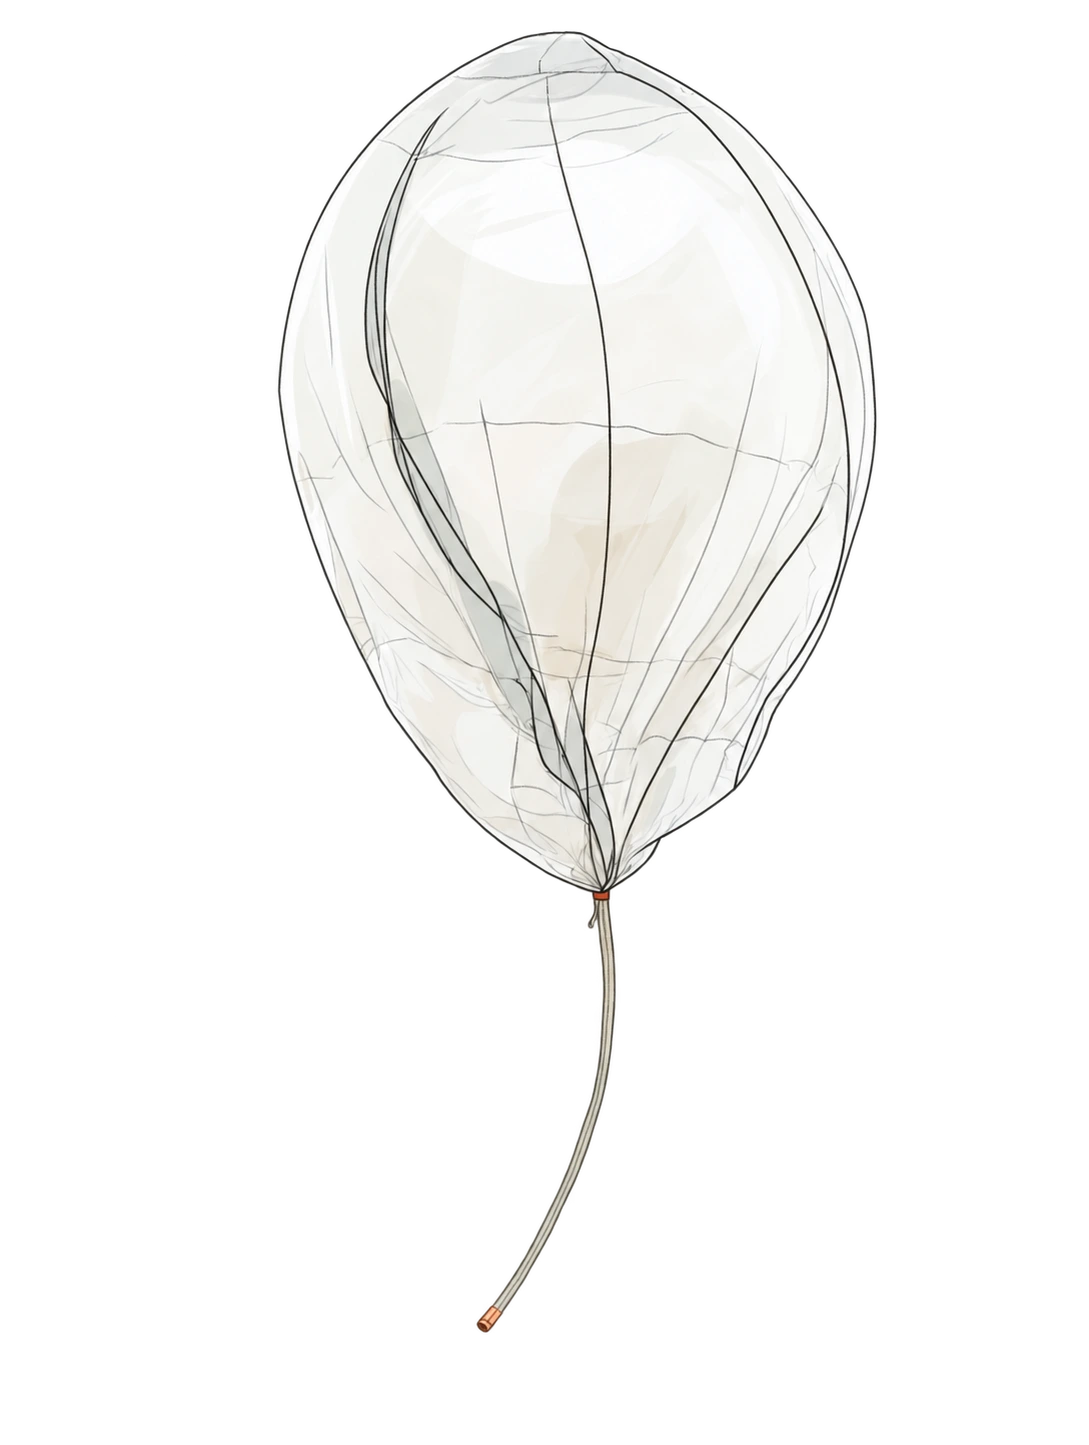
The fill tube acts as a temporary test weight.
What should the test tube weigh?
The envelope is already attached during this test. The tube stands in for the payload, suspension and desired free lift. Do not add the envelope mass to the tube target.
Seal and suspend the payload
- Preheat the hair straightener. Remove the fill tube and flatten the nozzle so its layers line up, without folds or wrinkles.
- Seal the nozzle with two 5-second presses, allowing it to cool between presses. The required temperature depends on the film and sealer. Establish a setting that seals your particular film without melting through it before filling a flight envelope.
- Fold the sealed nozzle crosswise and secure the fold with Kapton tape.
- Tie the elastic cord around the middle of the folded nozzle. Leave enough nozzle below the knot to prevent the cord slipping off.
- Feed the other end through both suspension holes in the payload board, leaving about 8 inches (20 cm) free.
- Tie a retaining knot close to the second board hole. Tie the remaining free end back to the suspended cord to form a triangle. Adjust it so the payload hangs level.
- Check the seal, knots and final lift with the complete assembly. Keep the antenna clear of the cord and follow the pre-launch checklist before releasing it.
The illustrations show the handling steps. They are not photographs or a knot specification.